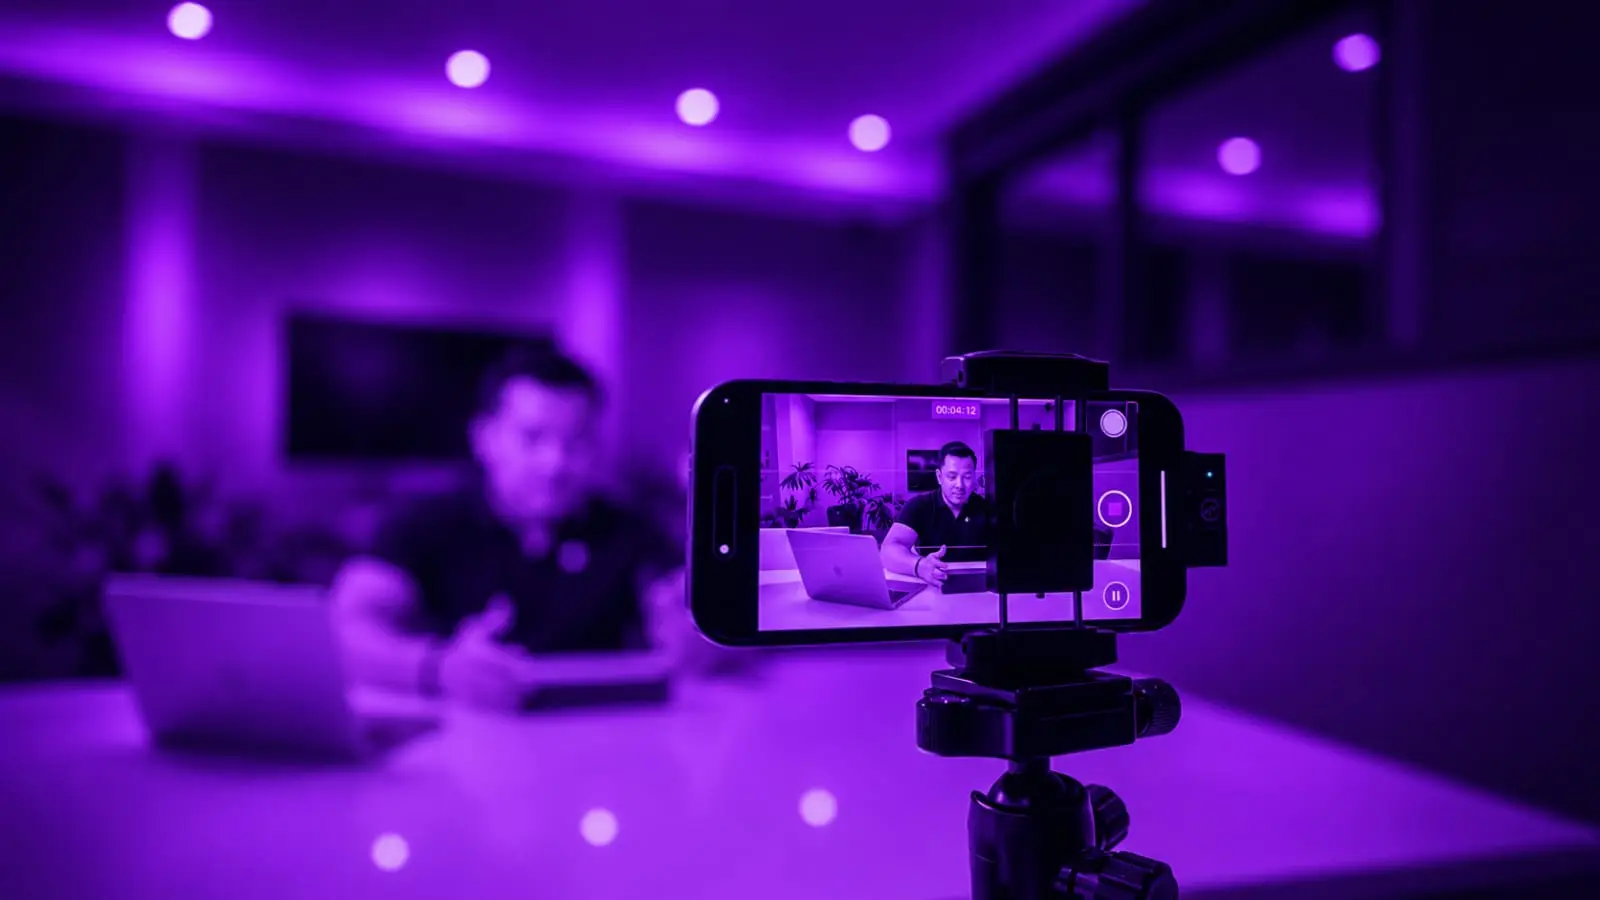
Two Indian creators post the same video idea the same week. One filmed it on a flagship phone in a dim room with the overhead tube light on. The other filmed it on a three-year-old budget phone, but pointed a single ₹800 ring light at their face and turned off the harsh ceiling tube. The second video looks like it belongs on a channel with a production team. The first one looks like a phone call screen recording. Same content. Same delivery. Same energy. The only difference is light.
This is the single most underrated truth in Indian content creation. Viewers cannot consciously articulate why one video feels expensive and another feels cheap, but their brain registers it within the first two seconds, before a single word has been spoken. Lighting is doing more work for how professional your channel looks than your camera, your editing, or your set design combined. And it is also the cheapest fix available, which makes the fact that almost nobody fixes it first genuinely strange.
The test that proves this instantly: Take any phone, sit in a badly lit room, and film ten seconds of yourself talking. Then move next to a window during daylight, or point any cheap light source at your face, and film the same ten seconds. Watch both clips back to back. The difference will be larger than anything a ₹50,000 camera upgrade could produce.
Why Lighting Matters More Than the Camera You Are Saving For
A camera sensor is fundamentally a device for capturing light. It cannot create detail, colour, or clarity out of light that does not exist in the room. A ₹2 lakh camera pointed at a poorly lit subject will produce a grainy, flat, washed-out image, because the sensor is straining to amplify whatever weak light signal it is receiving. A ₹15,000 phone pointed at a well-lit subject will produce a clean, sharp, colour-accurate image, because the sensor has abundant light to work with and barely has to try.
This is why professional film and television sets spend more money and more crew hours on lighting than on almost any other department. The camera operators on a big-budget production are often working with equipment objectively similar to what is available to consumers. What separates the look of a professional production from an amateur one is almost entirely the lighting setup, not the camera body.
For Indian creators specifically, this matters even more because most filming happens indoors, in bedrooms, home offices, and small rented studio spaces with ceiling tube lights that were chosen for general household visibility, not for how they render skin tone, shadow, and depth on camera. The default lighting in most Indian homes is the single biggest reason most first-time creator videos look amateur, regardless of how good the camera is.
Bad Lighting
What It Does to Your Video
Harsh overhead shadows under the eyes and nose. Flat, washed-out skin tone. Grainy footage even on good cameras. Colour that shifts yellow or green. Viewers unconsciously associate this look with low effort.
Good Lighting
What It Does to Your Video
Even, flattering skin tone. Visible depth and dimension on the face. Clean footage on almost any camera. Colour that looks accurate and warm. Viewers unconsciously associate this look with production quality.
The Video Looks Professional. Now Get the Caption to Match.
Good lighting earns the click. Good captions and descriptions keep the algorithm distributing it. SocioMee generates your content for 12 platforms from one topic in 30 seconds, so the production effort you put into the visual never gets undercut by a rushed caption.
Try It Free
The Three Lighting Mistakes Almost Every New Creator Makes
Mistake 01
Relying on the Ceiling Tube Light Directly Above You
Overhead lighting is the single most common lighting error in Indian creator videos because it is simply what is already on in the room. Light coming straight down from above creates harsh shadows under the eyes, under the nose, and under the chin, the exact areas where shadow makes a face look tired, aged, and unflattering on camera. This is the same lighting effect that makes the classic flashlight-under-the-chin look scary, just less extreme. The fix is not necessarily turning the tube light off entirely. It is adding a second light source roughly at eye level, in front of you, that fills in those shadows so the overhead light is no longer the dominant source shaping your face.
Mistake 02
Sitting With a Bright Window Behind You Instead of In Front
A window is one of the best free light sources available, but only if you face it. Most new creators instinctively sit with their back to the window because that is where the desk or the wall happens to be in their room. This puts the brightest light source in the frame behind the subject, which forces the camera to expose for the bright background, turning the actual subject, the person talking, into a dark silhouette. The fix costs nothing: turn your setup around so the window light hits your face directly, even if that means your desk is now backwards relative to how the room was originally arranged.
Mistake 03
Using Only One Light Source at Full Brightness
A single light source, even a good one, pointed directly at the face from one angle produces a flat, harsh look with hard-edged shadows on one side. This is a common mistake even among creators who have already invested in a ring light, because a single ring light used alone still creates this one-directional flatness. Professional lighting setups almost always use at least two light sources of different intensities, a stronger key light as the primary source and a softer fill light to gently lighten the shadows the key light creates. This does not require expensive equipment. A second budget light, or even a white reflective surface like a large sheet of white paper or a foam board angled to bounce some of the key light back into the shadow side of the face, produces a dramatically more even, professional result.

The Budget Setup That Actually Works for Indian Creators
The good news is that solving all three mistakes above does not require a serious investment. A genuinely effective lighting setup for an Indian creator starting out costs less than most single brand deal payments, and significantly less than the cost of upgrading a camera.
Tier 01 – Free
Natural Window Light, Positioned Correctly
The single most effective lighting upgrade available to any creator costs nothing. Find a window that gets indirect daylight, not harsh direct sun, which creates its own harsh shadows, and position your filming setup so that window is in front of you or at a 45-degree angle, never behind you. Diffused daylight from a window is one of the most flattering light sources that exists, which is exactly why professional photographers and videographers pay significant money for equipment that tries to replicate the soft, even quality of natural window light. If your filming schedule can work around daylight hours, this single change costs zero rupees and produces results that rival far more expensive setups.
Tier 02 – Under ₹1,500
A Single Ring Light or LED Panel as Your Key Light
For filming after dark or in rooms without good window access, a basic ring light or small LED panel in the ₹800 to ₹1,500 range, widely available from Indian sellers on Amazon and Flipkart, is the next step up. Position it slightly above eye level and roughly at a 30 to 45 degree angle from your face rather than dead centre, since direct-on lighting tends to flatten facial features and remove the natural depth and contour that makes a face look three-dimensional on camera. Most budget ring lights also include adjustable colour temperature, which matters specifically for Indian skin tones: a setting that is too cool or blue-toned can wash out warmth, while a setting that leans slightly warm tends to flatter most skin tones more naturally.
Tier 03 – Under ₹3,000
Two Lights and a Reflector for a Proper Key and Fill Setup
Once posting consistency is established and the channel is producing some income, the next reasonable upgrade is a proper two-light setup: one stronger key light as the primary source and one softer, dimmer fill light positioned on the opposite side to soften the shadows the key light creates. A basic two-light kit with stands runs roughly ₹2,000 to ₹3,000 in India and produces results that are genuinely difficult to distinguish from far more expensive professional setups once positioned correctly. A simple white foam board, available for under ₹100 at most stationery shops, can substitute for a second light entirely by bouncing the key light back into the shadow side, which is the budget creator’s version of professional fill lighting.
The order of priority that actually makes sense for a new Indian creator:
First: Fix your window position. Free, immediate, and the single biggest visual upgrade available.
Second: Add one budget light source for filming after dark, angled, not pointed straight on.
Third: Add a second light or a reflector once consistency is proven and some income exists.
Last, not first: Upgrade the camera. A better camera with bad lighting is still a bad-looking video. A phone camera with good lighting consistently outperforms an expensive camera in poor light.
Better Lighting Earns the Click. Better Distribution Earns the Reach.
A well-lit video deserves to be seen on every platform, not just the one you uploaded to first. SocioMee generates your content for 12 platforms from one topic in 30 seconds. Make the production effort count everywhere it can.
Start Building Free